Guide
How to Scan Old Photos in High Resolution
Scan old photos in high resolution with the simple 600 setting, then restore, print, and share the family photos that matter most.
Published May 14, 2026 · Updated May 19, 2026
The short answer: use the 600 setting on your scanner or app.
If you are scanning your mum's wedding photo, your dad's army portrait, or a box of baby photos, 600 gives you enough detail to restore, print, and share. Use 300 for quick copies. Use 1200 only for tiny photos you want to enlarge.
High resolution should not feel technical. It just means the scan has enough detail to hold up later.
For most family photos, your job is simple. Keep the photo flat, use soft light, choose 600, and save the best copy.
Then restore the photos you care about most.
Already have a scan or phone photo? Restore a free photo in PhotoScanRestore. No card needed.
How much detail to capture
DPI means dots per inch — how much detail you capture from the printed photo. A bigger number captures more detail, but it also makes bigger files.
For normal family prints, 600 is the sweet spot. It gives restoration software enough to work with, and it gives you room to print a nice copy later.
Think of it this way: scan your kid's baby photo at 600. Then you can restore it and print a clean 8x10 for a birthday frame.
That is the real goal.
| What you have | Use this setting | Why |
|---|---|---|
| Normal 4x6 or 5x7 photo | 600 | Best balance for restoring, printing, and sharing |
| Big 8x10 photo | 300 or 600 | 300 is fine for a same-size copy; 600 gives more room |
| Tiny wallet photo | 1200 | Helps if you want to enlarge a small face |
| Quick copy for WhatsApp | 300 | Fine for casual sharing |
If you want the deeper numbers later, keep our scanner settings guide open in another tab. You do not need it to start.
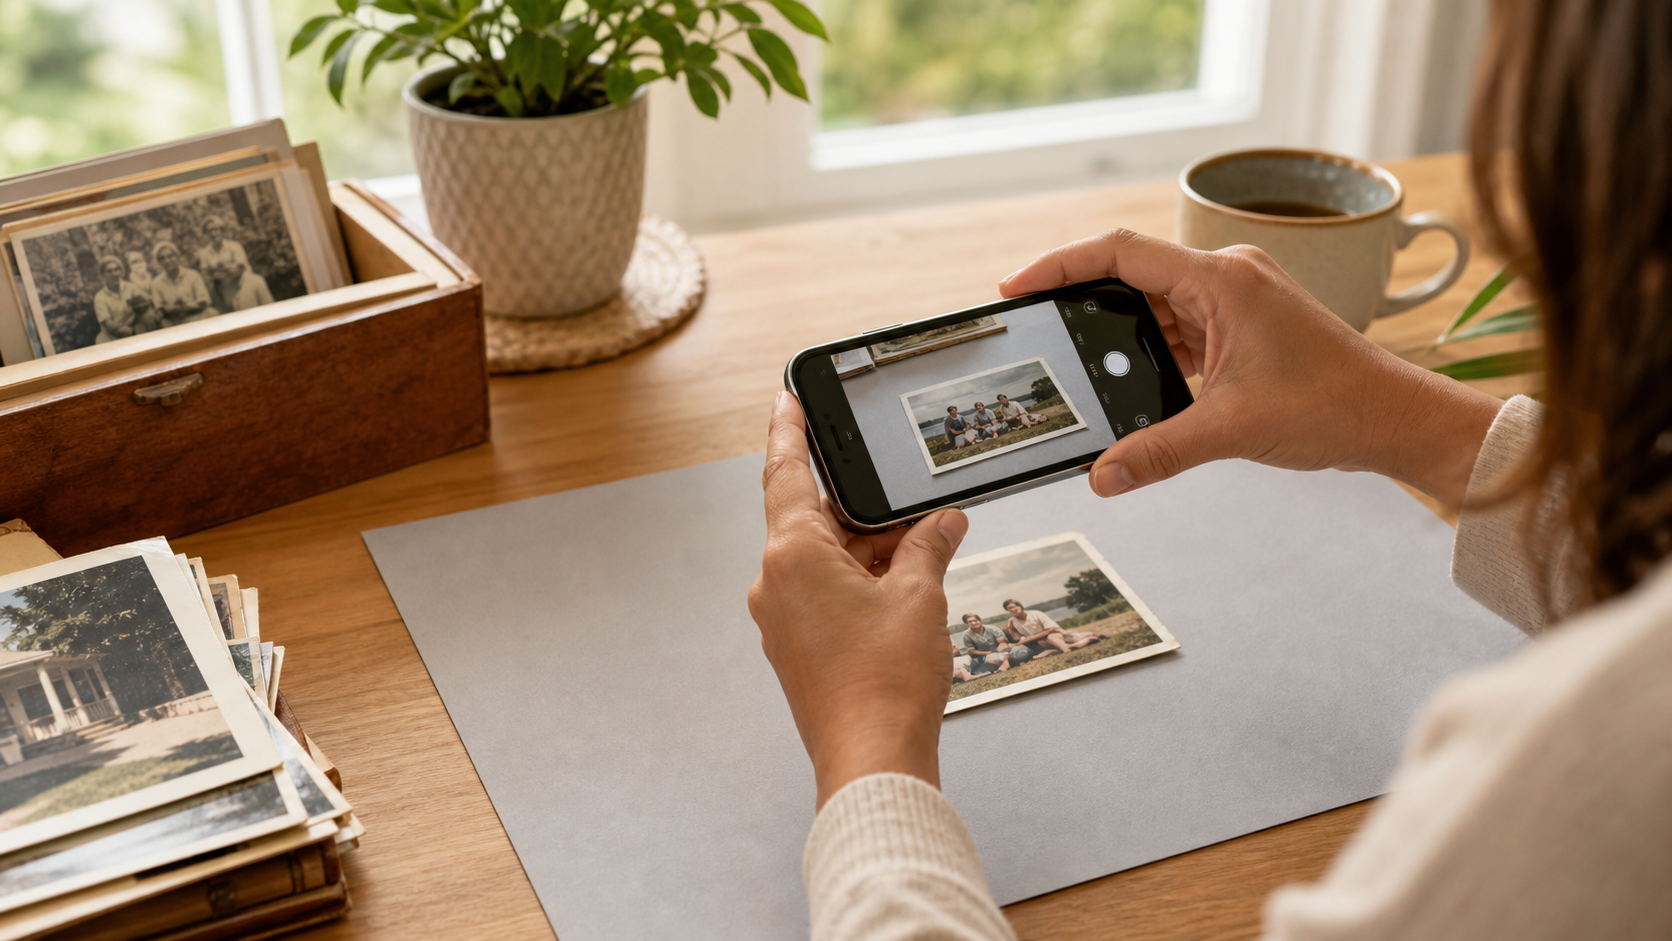
If you are using your iPhone
A recent iPhone is fine for most family photos. Fill the frame with the photo, hold the phone level, and keep the light even.
Do not use digital zoom. Move the phone closer instead.
Try to avoid ceiling lights, shiny glare, and shadows from your hands. A table near a window usually works better than a bright lamp.
For the full phone setup, use our iPhone scanning guide.
If you are using a flatbed scanner
Place the photo straight on the glass and choose 600 before you scan. If the photo is tiny, choose 1200.
Save the first good scan as your master copy. Do not keep rescanning the same photo at different settings unless the first one is blurry, crooked, or covered in glare.
If your scanner asks for a file type, choose JPEG for everyday family use. If it offers TIFF, that is a higher-quality file format used by pros — JPEG is still fine for most people.
The simple family-photo workflow
- Pick the photos that matter first. Start with the ones you would actually print, frame, or send to family.
- Wipe loose dust gently with a soft cloth. Do not scrub fragile prints.
- Scan at 600.
- Check the face, not the whole file. If the face looks sharp, you are usually good.
- Save the original scan somewhere safe.
- Restore a copy, then share or print the improved version.
If the photo is black and white
Scan black-and-white photos at 600 too. Use color mode if your scanner offers it, even when the photo has no color.
That sounds odd, but it helps keep the paper tone, pencil notes, stains, and warm old-photo feel. You can always make a clean black-and-white copy later.
If you want to add color, restore the scan first. Then use the photo colorizer guide or the free colorizer tool on a copy.
If photos are stuck in an album
Do not pull them out unless they come away easily. Old glue and paper corners can tear a photo in seconds.
Open the album as flat as it safely goes, support the spine with books or towels, and scan the whole page. Then crop each photo from the page copy.
If the album has handwritten names or dates, scan those too. Those notes may matter as much as the picture.
For a safer album workflow, use the album scanning guide.
Common mistakes
Scanning everything at 1200. This sounds safer, but it often just creates huge files. Use it for tiny photos or heavy cropping.
Using harsh light. Glare hides detail. Move near a window or bounce the light from the side.
Cropping too tight while scanning. Leave a little border. You can crop later.
Fixing the photo before you save the original. Keep the untouched scan first. Restore a copy.
Only thinking about the scan. The scan is the start. Restoration is what makes a faded or scratched photo feel alive again.
What to do after scanning
Once you have a clean scan, restore the photos that deserve a second life. PhotoScanRestore can help with faded color, scratches, soft faces, and old paper damage.
If the scan is clean but too small for printing, read how to upscale old photos, then use the image upscaler. If the photo is faded or damaged, start with the free restore demo.
FAQ
What setting should I use to scan old photos in high resolution?
Use 600 for most family photos. It is the best starting point for restoring, printing, and sharing.
Is 300 enough for old photos?
300 is fine for quick digital copies or same-size reprints. Use 600 for photos you really care about.
When should I use 1200?
Use 1200 for tiny wallet photos, small portraits, or anything you plan to enlarge a lot.
Can I use my iPhone instead of a scanner?
Yes. Use good light, fill the frame, keep the phone level, and avoid zoom. A flatbed is still better for tiny or curled prints.
Should I restore before or after scanning?
Scan first, save the original, then restore a copy. That keeps the family archive safe.
Sources
These sources informed the simple 600-setting recommendation, but you do not need a museum workflow for a family photo box.
- FADGI Technical Guidelines for Digitizing Cultural Heritage Materials, 3rd Edition, 2023.
- 36 CFR 1236.50, National Archives digitization requirements for permanent paper and photographic print records, current CFR edition accessed May 14, 2026.
- Smithsonian Institution Archives digitization standards for still images, accessed May 14, 2026.
- National Archives digital photographic records transfer guidance, accessed May 14, 2026.
Already have a scan or phone photo? Restore a free photo in PhotoScanRestore. No card needed.
Next: compare capture methods in phone vs scanner, fix shine with the glossy photo scanning guide, or get exact numbers from the DPI settings guide.