Guide
Old Photo Repair: Fix Faded, Scratched, or Torn Prints
Old photo repair guide for families: scan safely, fix fading and scratches, know when automatic repair is enough, and when manual repair is better.
Published May 14, 2026 · Updated Jun 3, 2026
Quick answer: old photo repair means making a safe digital copy, fixing fading and contrast first, reducing scratches or stains, sharpening faces gently, and saving both the original scan and repaired file. Restoration tools can handle many light-to-moderate repairs, but very torn, water-damaged, or historically important photos may still need manual restoration.
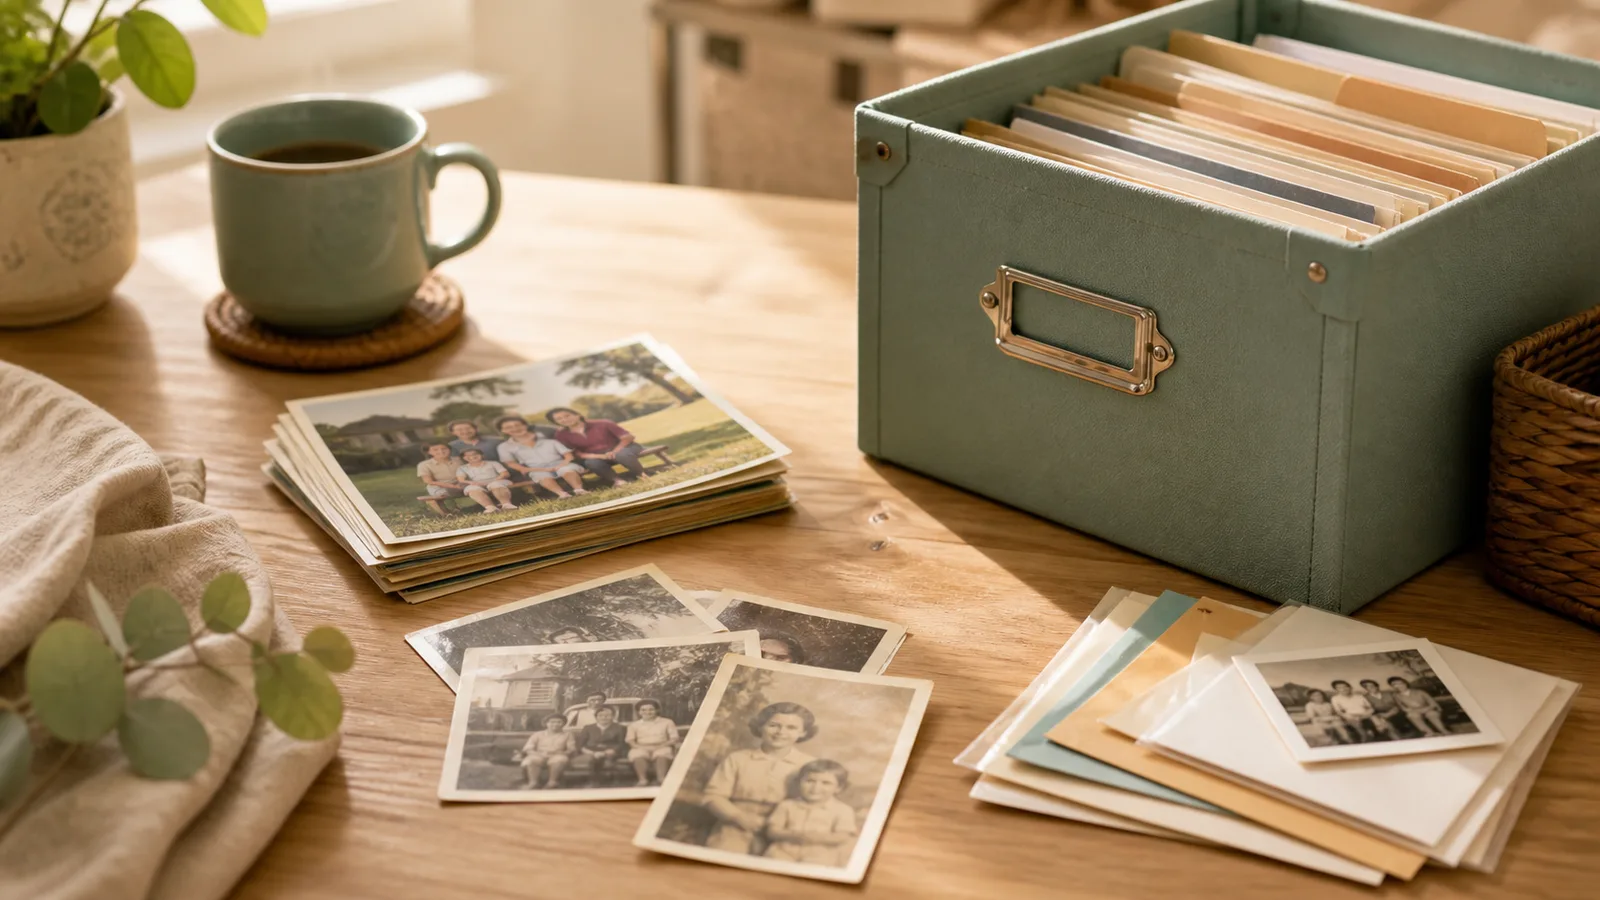
Old family photos rarely have one clean problem. A single print might be faded, scratched, dusty, bent at the corner, and soft around the faces. The safest repair workflow is not to chase every mark at once. Start with capture quality, run one careful restoration pass, compare the result with the original, then decide whether the photo needs colorization, upscaling, or human retouching.
This guide is for families who want to repair old photos without becoming photo editors. It covers what automatic repair can fix, what needs a better scan, and when to stop before the repair starts changing the person or the memory. If you are ready to upload one damaged image now, use the old photo repair service page; this guide is the preparation workflow.
What old photo repair can fix
Use the damage type to choose the repair path:
| Damage type | Restoration fit | What to do |
|---|---|---|
| Faded color or low contrast | Strong | Restore tone and color first |
| Light scratches, dust, and small spots | Strong | Run a restoration pass, then inspect faces |
| Soft faces | Good | Restore first, then use face enhancement if needed |
| Water stains or blotches | Mixed | Use water damaged photo restoration once the print is dry and safely copied |
| Torn edges or missing corners | Mixed | Automatic repair can help backgrounds; faces and hands need caution |
| Missing facial detail | Hard | Consider a professional or manual editor |
If the image is mainly faded rather than damaged, start with how to restore old photos. If the photo is badly damaged, compare this guide with restore damaged photos online.
1) Protect the original before repairing
Repair should happen on a digital copy, not the physical print. The National Archives handling guidance recommends careful handling for family papers and photographs, and the Library of Congress photo care guidance focuses on safe storage and handling of photographic materials.
For family photos, that means:
- Wash and dry your hands before handling prints.
- Avoid rubbing the photo surface.
- Do not use water, heat, tape, glue, or household cleaners.
- Place fragile prints on a clean, flat surface.
- Make a digital copy before any repair work.
If the photo flakes, sticks to glass, smells musty, or tears when moved, stop and seek conservation advice before trying to scan it flat.
2) Capture a repair-ready scan
The repair result depends on the input. A blurry phone shot limits what any app can recover.
Use even light, keep the camera parallel, and crop out table edges before upload. If you have a scanner, 600 DPI is a practical target for normal prints. If the image is tiny or you plan a larger print, scan higher and keep the original file.
Useful next steps:
- For phone capture, use the iPhone scanning guide.
- For glare-prone prints, read scan glossy photos without glare.
- For print-size planning, see scan old photos in high resolution.
3) Repair in the right order
Do the broad fixes before the detailed fixes:
- Straighten and crop so the tool works on the photo, not the table.
- Restore tone and color so faces and clothing regain depth.
- Reduce scratches and dust after contrast is balanced.
- Enhance faces gently only if they still look soft.
- Upscale last if you need a larger printable file.
Do not upscale first. Upscaling a damaged scan can make scratches, dust, and blur larger. Repair first, then enlarge.
4) Know when automatic repair is enough
Automatic repair is enough when the restored photo looks natural, faces still feel like the right people, and the main memory is easier to see. It is not enough when the tool invents facial features, smooths skin until it looks artificial, or fills missing areas with details that change the story.
Use this rule: if the repaired version would surprise a close relative in a bad way, do not treat it as final. Try a better scan, lower the enhancement strength if the tool allows it, or use manual repair.
5) Save the repaired photo properly
Keep three files:
- The untouched original scan.
- The repaired high-resolution file.
- A smaller share-ready copy for messages, slideshows, or family chat.
Store them somewhere your family can find later. If you are doing a larger archive, use consistent filenames with names, dates, or locations when you know them.
When to use a professional restorer
Use a professional or manual editor for:
- Missing eyes, mouths, or faces.
- Major tears through important people.
- Severe water damage.
- Mold, flaking, or stuck-to-glass originals.
- Museum, legal, or historical photos where accuracy matters more than speed.
For normal family snapshots, start with one free repair. It is faster, cheaper, and gives you a real quality signal before you commit to a larger project.
If the first repair works and you have a box or album to finish, compare the broader photo restoration service path and estimate the batch with the photo restoration cost calculator.
Related repair paths
- If you want a no-cost starting point, use restore old photos online free.
- If you are ready to try a damaged photo, use the old photo repair service page.
- If the photo came from a flood, leak, or damp album, use water damaged photo restoration.
- If you are choosing tools, compare the best app to restore old photos.
- If faces are still soft, try Face Enhancer.
- If the repaired file needs a bigger print size, use Image Upscaler.
- If you need batch pricing after a good test, see pricing.
FAQs
What is the best way to repair old photos?
Make a safe digital copy first, restore tone and color, reduce scratches, enhance faces only if needed, and keep the original scan untouched.
Can automatic repair fix torn old photos?
Sometimes. Automatic repair can help with simple backgrounds and small missing edges, but large tears through faces, hands, or important objects still need careful manual repair.
Should I clean an old photo before scanning?
Do not use water, solvents, heat, tape, or household cleaners. If the photo is dusty, handle it gently and avoid rubbing the image surface.
Is old photo repair the same as photo restoration?
They overlap. "Repair" usually implies visible damage such as scratches, stains, tears, or missing areas. "Restoration" can also include fading, color correction, contrast, and sharpening.
Can I repair old photos on iPhone?
Yes. PhotoScanRestore is available on iPhone, and Android or desktop readers can use the web demo.